Quilted Throw Pillow Tutorial - Easy Envelope Closure
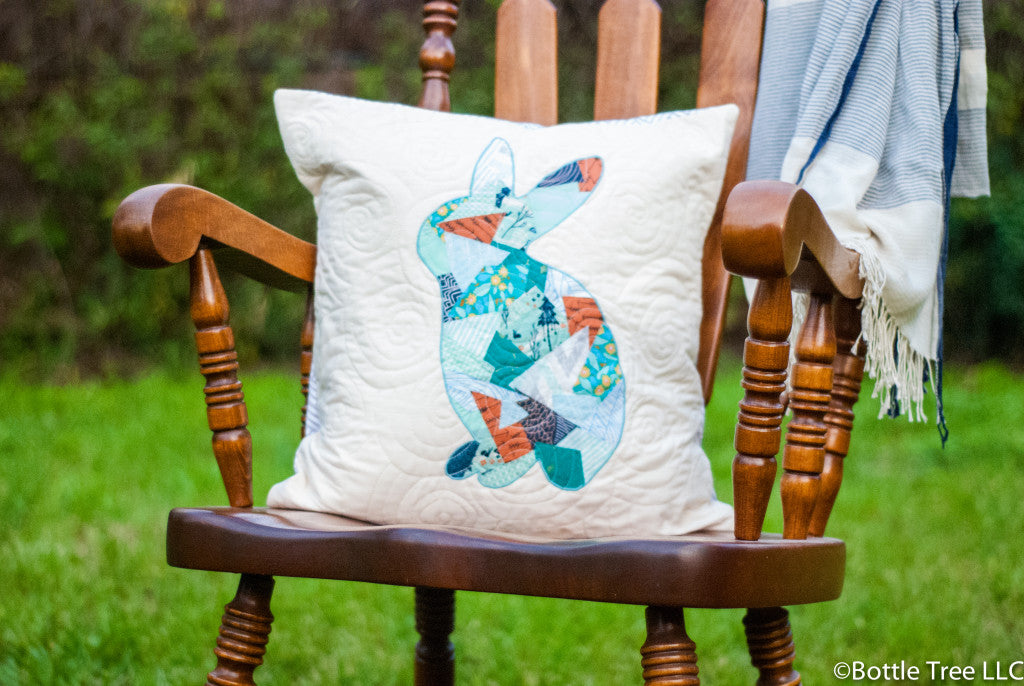
Apr 01, 2015Quilted throw pillows are a quick and easy way to freshen up a room and add a lot of interest and personality! This pillow took me a couple hours to make, and boy am I in love.

All of my Applique Templates come in multiple sizes (mini, small, medium, and large). I have print patterns and digital patterns, as well. The small size is perfect for crafts such as this throw pillow, tote bags, wall hangings, etc. If you've been curious to try applique or if you have a bunch of fabric scraps laying around, my Scrappy Applique technique might be what you're looking for! It is quick and easy to pick up and allows for a lot of creative possibilities!

I used this fun swirl quilting pattern over the whole pillow.

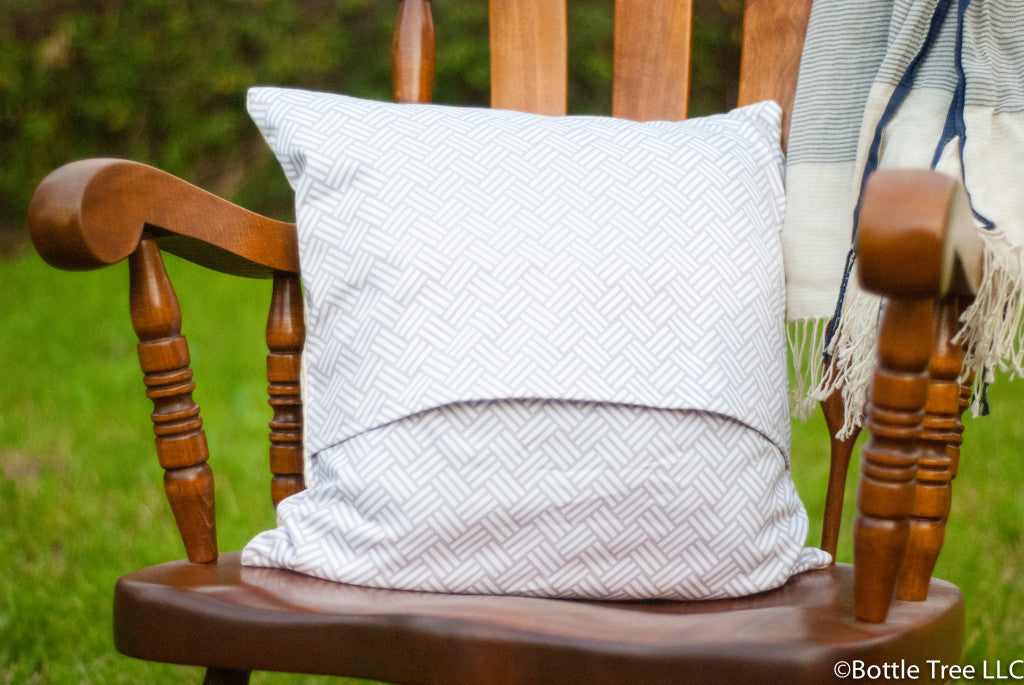
I used an easy envelope closure.
Quilted Throw Pillow
Materials
- 5/8 yd of background fabric
- 5/8 yd back of pillow fabric (I recommend a canvas or upholstery weight fabric)
- 5/8 yd of muslin
- 22" x 22" batting
- thread: white all-purpose cotton, cotton thread that blends in with the background fabric (like Aurifil 50 wt), embroidery thread that coordinates with applique piece
- Basting pins (or basting spray, if preferred)
- 18" square pillow form
- Applique Template (size small)
*See template for applique materials
Cut
- Background fabric to 20" x 20"
- Muslin to approximately 24" x 24"
- Two 14" x 19" pieces of back of pillow fabric
Make
Prepare bunny applique
If using the Bunny Applique Template , or any of my other templates, use the instructions included with the pattern to prepare the applique piece. The small sized template is perfect for this project.
Make the Pillow Top
- Center the bunny on your background fabric and pin in place with straight pins (or use basting spray).
- Satin or zig-zag stitch around the bunny using the coordinating thread.
- Layer the muslin (wrong side up), then batting, then pillow top (right side up) to make your quilt sandwich.
- Use large basting safety pins to baste, leaving 2-4" between pins (or use basting spray).
- Quilt as desired. Maybe straight lines 2" apart, or free-motion swirls, like I did here!
Construct Pillow
- Trim your pillow top to 19" x 19".
- Hem the first back of pillow piece along one of the 19" sides. Fold over 1/2" and press, then fold over 1/2" again and press. Sew a straight seam along the fold. Repeat for second piece.
- Lay the pillow top with right side facing up on your table. Lay the first piece (right side down) on top with the raw edge aligned with the top of the pillow top. Lay the second piece (right side down) on top of that, with the raw edge aligned with the bottom.
- Pin the three layers together around the edges.
- Sew around all 4 side with a 1/2" seam allowance.
Turn right side out and press pillow. Add the 18" square pillow form and you're done!
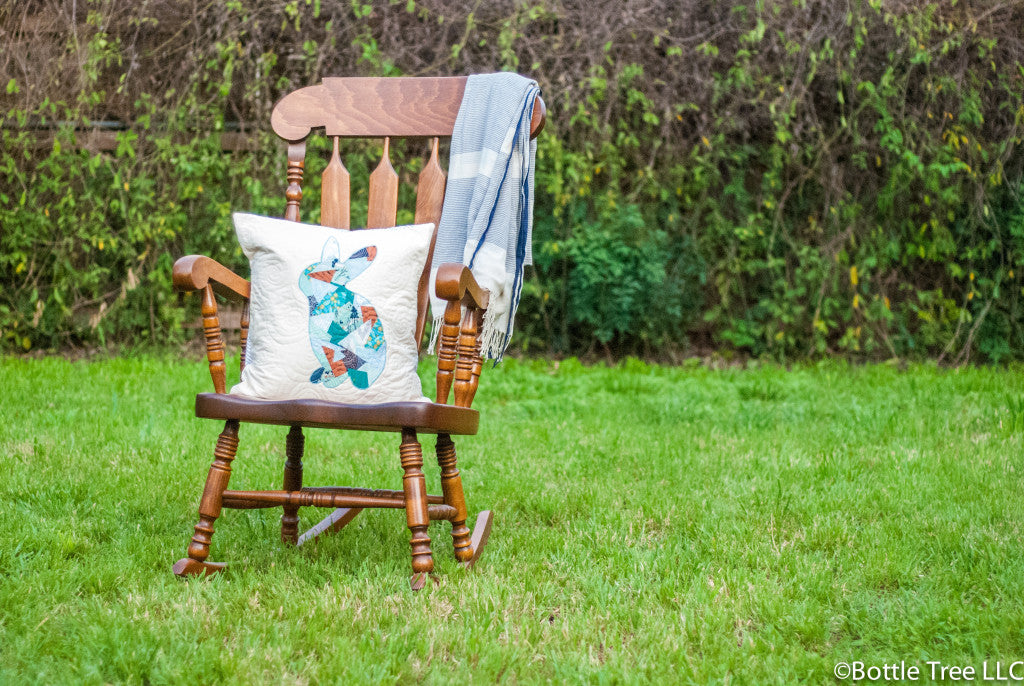
Any of my Applique Templates would make great throw pillows. This size is also perfect for a first time applique or scrappy applique project-- quick and fun! Tell me your ideas! Would you add a quilted background? Choose a different animal or image?