Tulip Applique Tote -- Free Pattern
Feb 10, 2021Spring is my very favorite time of the year. I get inordinately excited as each new tree variety begins to blossom and the wild flowers arrive. I plan to make at least a dozen wild flower crowns in the coming weeks. I gave my mother this Bouquet Tote last year for Mother's Day, and I thought I'd share the pattern with you again this Spring!

Finish the appliqué piece as a tote, like I did (instructions below), or make it into a wall hanging, pillow, or whatever else you like!

You can follow the pattern instructions to make your appliqué bouquet using my Simple Raw-Edge Applique method or follow my Scrappy Applique technique.
Tote Bag Tutorial
Materials
- 1/2 yd fabric (I used canvas for durability
- 2 yds 1" cotton webbing for straps (this can be found in the ribbon section of craft stores
- Thread that coordinates with the bag fabric
- Spring Bouquet Applique Piece (Download the Free Pattern)
Optional Lining:
- 1/2 yd fabric (I prefer a regular quilting cotton so the bag isn't too rigid)
- 10" square of fabric for the pocket
Cut
- Trim bag fabric to 16" x 36"
- Trim lining fabric to 16" x 36" (optional)
- Cut two 22.5" pieces of webbing
*If your fabric is directional (ie has a clear way the fabric should face), you can just cut 2 panels 16" x 18.5" instead of one 16" x 36". Otherwise, one side will be upside-down when you fold it over. If you do this, sew a 1/2" seam on the bottom also on step 5.
Construct

- Pin webbing in place on the right side of one end of your bag fabric (3" from either side), aligning raw edges.
- Zig zag stitch along the edge of the fabric.
- Repeat for the other side.
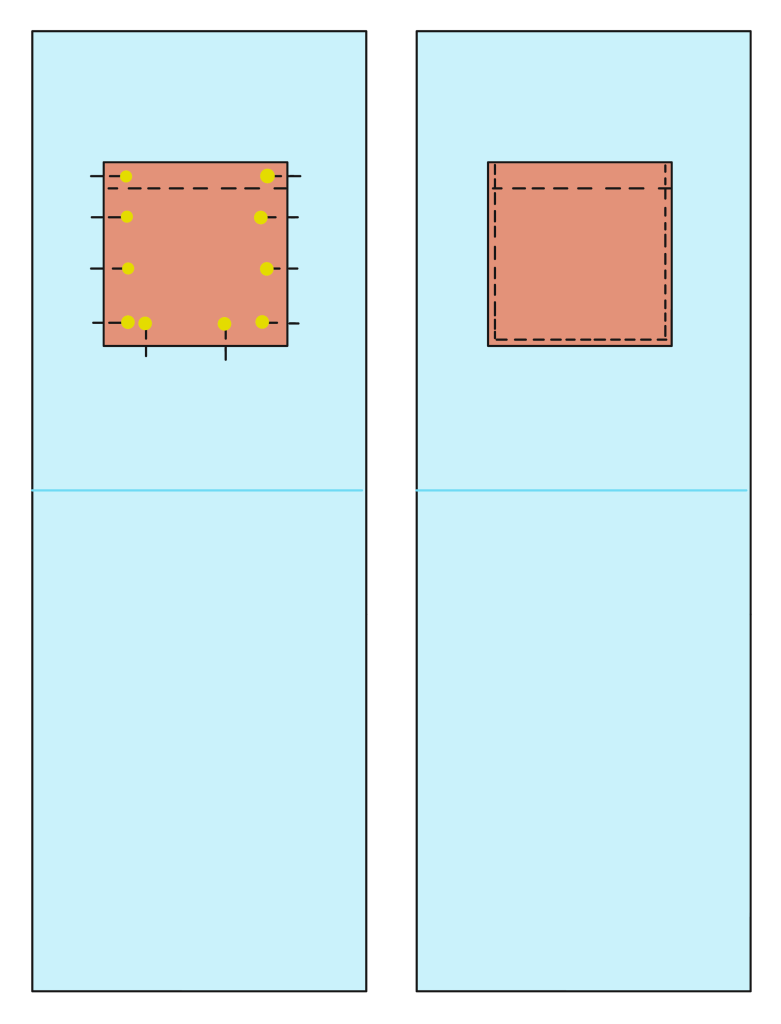
- Make and apply the appliqué piece according to the instructions on the Free Pattern .
- Fold your bag, right sides together, aligning the strap sides, pin in place.
- Sew 1/2" seam on either side.
- Zig zag stitch along the sides you just sewed.

- Fold fabric over on the wrong side 1.5", pin in place. (If you are adding lining, make sure pins are on the right side of the bag.)
- If you are NOT including the lining, go ahead and sew a seam 1/4" from the bottom raw edge, as well as another seam 1/4" from the top fold, making sure the straps are straight as you sew across them.
- Turn right side out, and press. If you aren't including the lining, you're done!!
 Optional Lining
- Hem the pocket: Fold the right and left sides 1/2" toward the wrong side and press. Fold over 1/2" again, press. Repeat for the top and bottom sides.
- Sew a 1/4" seam across the top side of your pocket.
- Fold your lining fabric in half, "hamburger" (so it is 18" x 16"), press the fold with iron. Unfold. Now you will be able to position your pocket correctly.
- Position your pocket on one of the right sides, centering it between sides and fold. Pin in place.
- Sew pocket 1/4" from edge: down one side, across the bottom, and up the other side. Obviously, dont sew across the top!
- Fold lining in half again, right sides together. Sew 1/2" seam on either side.

- Fold top edge 1.5" toward the wrong side and press.
- Tuck the lining inside the bag. Align the tops and pin in place, make sure the straps are straight.
- Sew a 1/4" seam around the top of the bag. You're done!!


I hope you are enjoying your Spring, wherever you are! What are your favorite flowers to fill your house with?